
Enemies
Enemy and boss guides for Deep Dish Dungeon: threat tiers, attack patterns and the counter plays that let you clear deep floors without wasting meals.
Introduction
Enemies in Deep Dish Dungeon are less a combat system than a study in behaviour. The game does not build its challenge around a single fight loop repeated against stronger numbers; instead it places creatures with distinct patterns in rooms and corridors where positioning, light and resource levels all interact with the encounter. That is why trading hits is usually the wrong answer and why the guides here focus on reading, avoiding and disengaging as much as on attacking. Threat scales with depth rather than following a fixed ladder, so what feels routine near camp becomes genuinely dangerous several floors down, and the same enemy can shift from nuisance to serious threat depending on where you meet it. This category breaks down what you face by threat level, describes the behaviours worth recognising and sets out the counter plays that keep a run alive. Bring a meal, bring light, and remember that a fight you avoid entirely costs nothing.
Enemy Threat Tiers
| Tier | Focus | Key Point |
|---|---|---|
| S | Floor Bosses & Elites | Full meals, upgraded gear, a planned retreat route |
| A | Region Guardians | Telegraphed attacks punished by greedy positioning |
| B | Roaming Enemies | Learnable patterns; manageable once studied |
| C | Basic Pests | Early-floor creatures that teach the combat basics |
Enemy Threat Levels
Floor Bosses
The elite encounters and boss fights that gate deep progress, and the fights the game expects you to prepare for rather than stumble into.
Region Guardians
Territorial enemies that protect an area and whose attacks are telegraphed, making them a test of positioning more than reflexes.
Roaming Enemies
The standard enemies that patrol corridors and rooms, and the group where learning patterns pays off most across a long session.
Basic Pests
The early-floor creatures that exist mainly to teach the game's combat basics without risking much of your expedition.
Core Mechanics
Enemy encounters in Deep Dish Dungeon reward observation before action. Creatures follow patterns rather than reacting randomly, and the game gives you the tools to learn those patterns through light and space: a lit room reveals an enemy's patrol, and a corridor's width determines whether you can slip past or must fight. Threat rises with depth, so the same behaviour becomes more punishing the further you go, and the practical consequence is that preparation, not technique, decides most fights. A strong meal and upgraded gear extend the margin for error, while a planned retreat route turns a losing encounter into a survivable one. That is why the recommended approach is rarely to clear a room. Instead, read the enemy, decide whether the fight is worth its cost in health, durability and supplies, and either commit fully or disengage early, because hesitation in this game is usually more expensive than either choice made cleanly.
Advantages
The behavioural design makes combat learnable in a way that pure stat-scaling systems rarely are. Because enemies follow readable patterns, a patient player can improve substantially without needing better gear, and knowledge earned in one session carries into the next. Avoidance is a legitimate and often optimal strategy, which means a well-supplied explorer can preserve resources by declining fights that do not pay for themselves. Light and positioning give you genuine tactical control, so encounters become puzzles about space rather than tests of reaction speed. The tier structure also gives a useful roadmap, letting you judge whether an area is appropriate for your current preparation instead of learning through repeated deaths. For co-op parties, this readability makes role division natural, since a fighter can hold an enemy while a scout moves past or a teammate retreats.
Challenges
The same design that rewards patience can frustrate players expecting a fast action game. Combat is deliberately slow, disengagement is often better than victory, and the absence of explicit tutorials means many players only discover an enemy's pattern after a costly mistake. Difficulty scales with depth in a way that is not clearly signposted, so a party can walk into a floor that is far beyond their preparation with no warning beyond the outcome. Information is also genuinely scarce: the game does not name or document its creatures, and the community has had to infer threat tiers from experience rather than official data. Because Deep Dish Dungeon is very new, community enemy listings remain unverified, and specific behaviours or tier placements should be treated as working reports rather than confirmed facts.
Frequently Asked Questions
Should I fight or avoid enemies?+
How do I beat a floor boss?+
Why does combat feel so slow?+
Are the threat tiers official?+
Quick Tips
Watch a full attack cycle before committing. Most enemies telegraph their behaviour, and one complete observation tells you when to strike and when to back off. Arriving at a fight already knowing the pattern is worth more than any single upgrade, and it costs only a few seconds of patience at the edge of a lit room.
Treat disengagement as a win, not a retreat. Fighting costs health, durability and supplies, while walking away preserves all three and leaves the loot in place for a better-prepared attempt. The players who progress furthest in Deep Dish Dungeon are usually the ones most willing to skip a fight that does not pay for itself.
Match your preparation to the floor, not to habit. Threat scales with depth, so a loadout that comfortably handled the early corridors can be genuinely inadequate several floors down. Reassess your meal and gear whenever a new area starts to feel dangerous, because that feeling is the game's only warning about scaling.
Keep an escape route in mind before you engage. A fight that goes badly is survivable if you already know which way is clear, and lethal if you have to discover that mid-encounter. Planning the exit costs nothing during preparation and is often the difference between losing supplies and merely leaving early.
Let a dedicated fighter hold the line in co-op. In a party, one player can absorb an enemy while others move past, gather or retreat, which converts a blocking encounter into a manageable one. Agreeing this role in advance stops the group from scattering and wasting the resources that made the trip worthwhile.
Featured

Deep Dish Dungeon Best Weapons for Bosses: Match & Loadout
Match the right Deep Dish Dungeon weapon to every boss with damage-tier breakdowns, crafting-material lists, and loadout combos that exploit elite weaknesses.
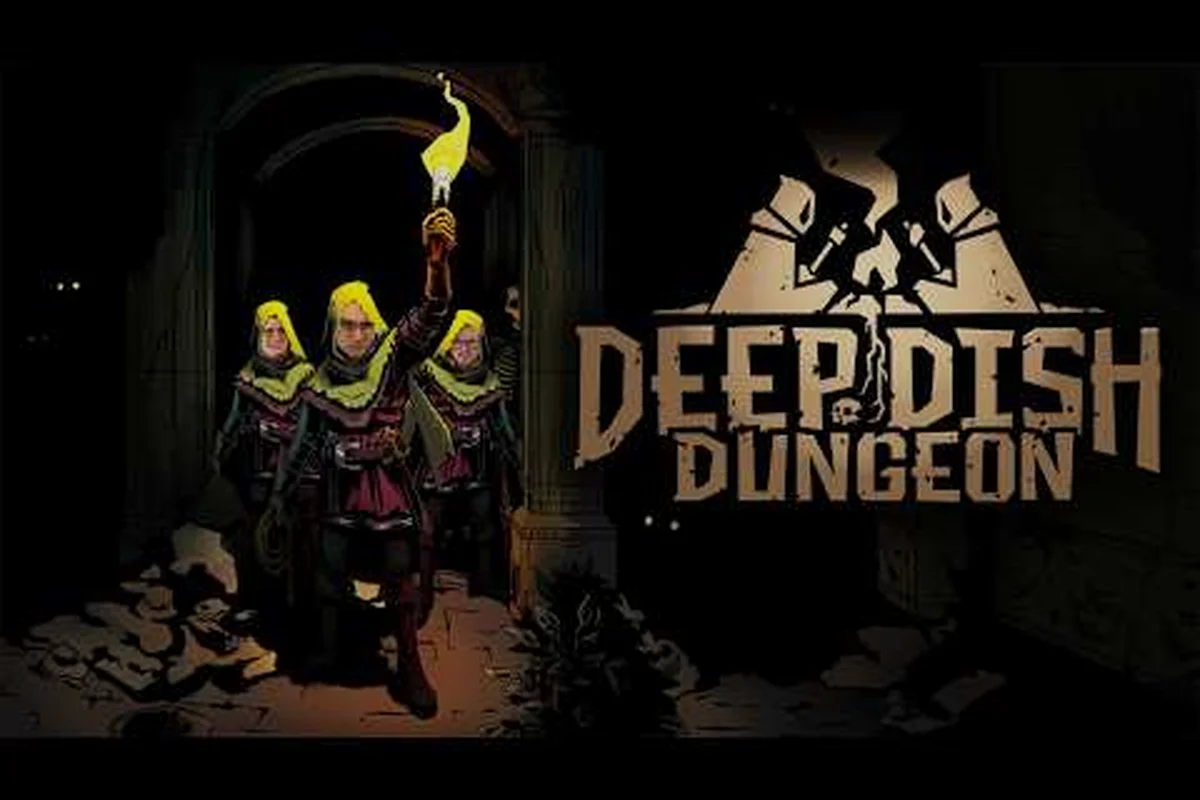
Deep Dish Dungeon How to Survive Boss Fights: Phase & Prep
Survive every Deep Dish Dungeon boss fight with phase-by-phase patterns, parry and block timing, and pre-fight meal prep that keeps your team alive into the enrage.

Deep Dish Dungeon Enemies Guide: Behaviors, Patterns & Threats
Break down Deep Dish Dungeon enemy behavior patterns, patrol tells, and threat tiers so you can learn every fight instead of brute-forcing deeper runs.
All Articles
Deep Dish Dungeon How to Defeat Enemies: Dodges & Counters
Learn Deep Dish Dungeon how to defeat enemies with read-telegraph dodges, counter timing, and meal-buff setups that clear every patrol on deeper floors.

Deep Dish Dungeon Stealth Tips: Sneak Past Enemies & Farm
Slip past every patrol with Deep Dish Dungeon stealth tips — detection ranges, line-of-sight breaks, and quiet routes that save stamina for the fights worth taking.
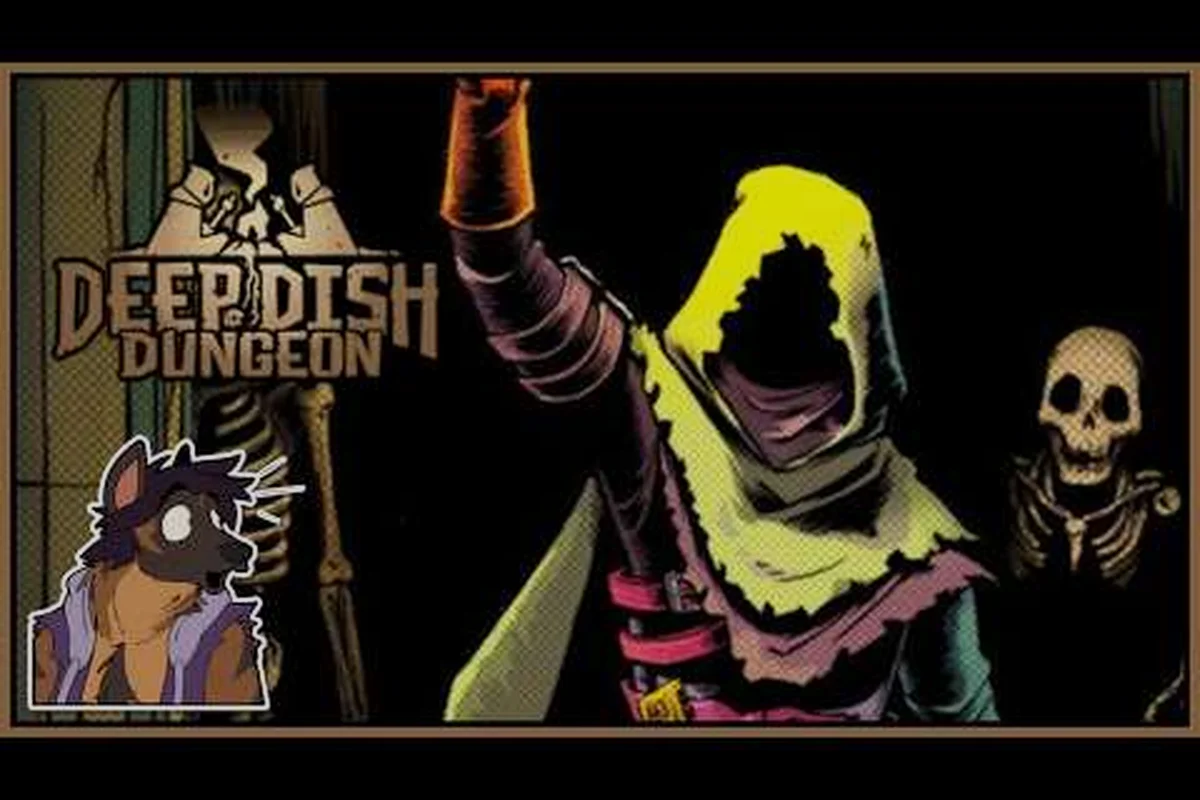
Deep Dish Dungeon How to Use a Shield: Block & Parry Tips
Get the Deep Dish Dungeon how to use a shield basics down — block timing, parry windows, stamina cost, and tank setups that hold against elite and boss damage.