
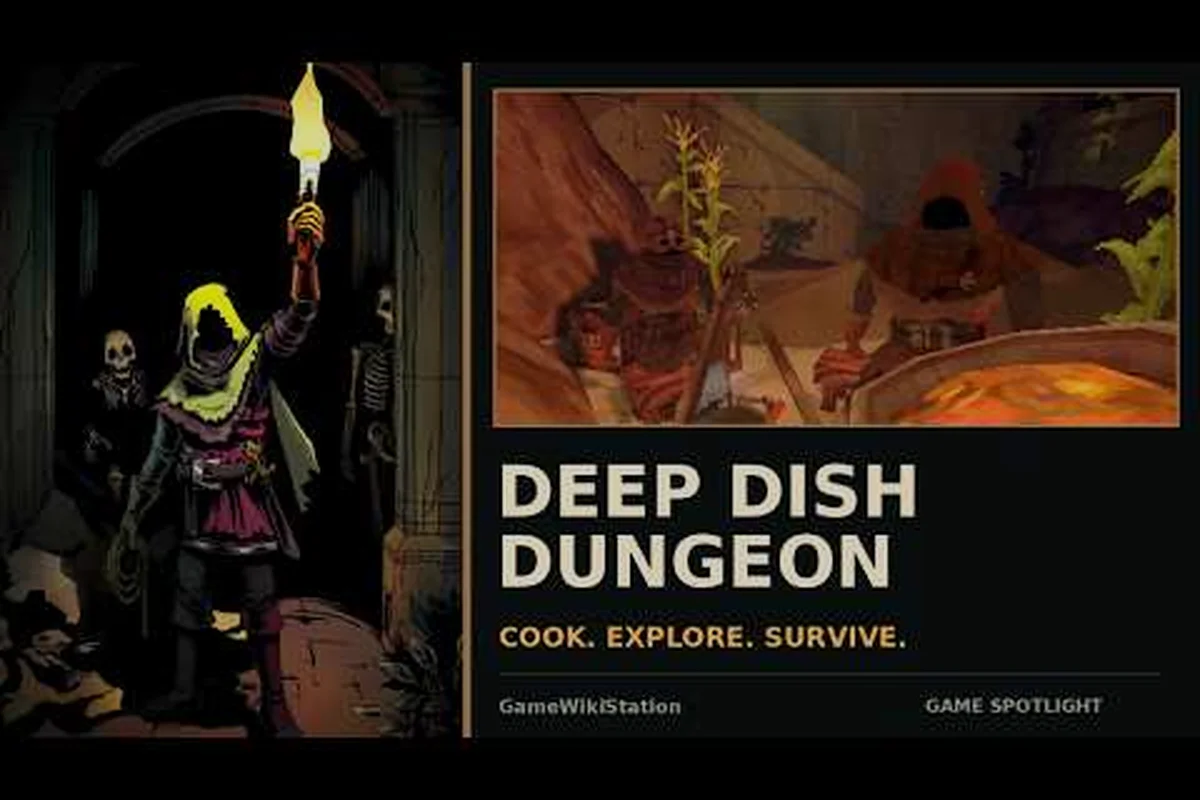
The campfire is the single most important object at your Deep Dish Dungeon camp, because it acts as a save anchor, a fast-travel target, and the staging point for every crafting station you unlock during a run. Players who treat the fire as a tactical hub rather than a decoration clear floors faster, lose fewer resources, and walk into boss rooms with stacked meal buffs already ticking. This guide breaks down exactly what the campfire does, how cooking at camp works, where to bank loot between expeditions, and the quickest paths to return to camp mid-run.
What the Campfire Actually Does in Deep Dish Dungeon
The campfire is the heart of your camp, and the system ties three mechanics into one object: rest, light, and station power. Once you build it on Floor 2, the fire never goes out, and every other facility you place nearby reads it as an active power source.
Core Functions Tied to the Campfire
The fire replaces the small temporary campfires you can light on dungeon floors for a quick heal. Those disposable flames are still useful on early floors, but once the permanent one is built, your full recovery loop moves to camp.
| Function | Effect at the Campfire | Where Else It Works |
|---|---|---|
| Full rest | Restores HP, Stamina, and Hunger to max | Camp only |
| Meal cooking | Powers the Cooking Pot, Oven, and Infuser | Camp only |
| Loot deposit | Opens shared Storage and the personal Stash | Camp only |
| Fast travel | Acts as the Return Beacon for every run | Camp only |
| Save anchor | Saves game state on every interaction | Camp only |
When you sit at the fire, all three survival bars refill in roughly four seconds of in-game time. The heal is generous enough to skip food entirely on short scouting dives, but a hot meal is still the fastest way to start the next run with Attack, Defense, or Speed buffs layered on top of a full bar.
Why the Fire Reads as a Power Source
Every crafting station in Deep Dish Dungeon is built within a small radius of the fire. If you walk too far away, the station shows a dimmed icon and refuses to accept materials. This radius is the entire reason camp layout matters: place the Anvil too far east, and you lose two seconds of walking every time you repair gear. Build everything inside the lit zone and the game stops nagging you about range.
Players report that stations within roughly 6 tiles of the campfire always read as powered, while stations past 10 tiles start flickering. Treating the fire as a literal center point is the simplest rule, and it doubles as the camp layout guide recommendation for new players learning the hub.
Cooking at Camp: How the Stations Stack
Cooking at the campfire is a three-station pipeline, and each station unlocks a different tier of recipe. The fire doesn't cook food on its own; it powers the stations you place next to it, so the build order is the only thing that actually matters for progression.
Build Order and What Each Station Unlocks
| Station | Tier | Primary Buff Type | Material Tier Required |
|---|---|---|---|
| Cooking Pot | T1 | Stamina Recovery + small HP Regen | Tier 1-2 plants and fungus |
| Oven | T2 | Attack Up and Defense Up | Tier 2-3 meat and grain |
| Infuser | T3 | Speed Up and Luck Up | Tier 3-4 rare herbs and spices |
The Cooking Pot is your first real meal source, and it sits on the left side of the fire by convention. Recipes here are forgiving: two Moss Sprigs and one Cave Mushroom give a flat +10% Stamina Recovery for the next two runs, which is the kind of small permanent-feeling buff that smooths the early grind. If you want the full recipe pool, the recipe unlock guide walks through every dish the pot can produce, including the few hidden ones that require odd ingredient combos.
How Buffs Actually Stack
Buffs from different stations stack multiplicatively, not additively, so a run with a +15% Attack Oven meal and a +10% Speed Infuser drink actually delivers about +26.5% total output rather than +25%. The cap is soft at +75% on any single stat, so veteran players push three small meals instead of one big one.
| Stack Size | Attack Example | Effective Bonus |
|---|---|---|
| 1 meal | Pot T2 (Atk +10) | +10% |
| 2 meals | Pot + Oven (Atk +15) | +26.5% |
| 3 meals | Pot + Oven + Infuser (Atk +20) | +51.7% |
The practical takeaway is that you should almost always cook three small dishes before a boss rather than one expensive one. Three meals cost roughly the same number of rare ingredients as a single top-tier dish, but the multiplicative stacking is much stronger. Where the rare ingredients actually come from is covered in the rare ingredients breakdown, which lists every Tier 3 and Tier 4 plant and the floors where they respawn.
Camp Storage: Where to Bank Loot Between Runs
Storage at camp is split into two boxes that behave very differently, and confusing them is the most common reason new players lose good gear. Understanding the rules is the difference between walking into Floor 8 with a full kit and starting over with a rusty starter sword.
Shared Storage vs Personal Stash
| Storage Type | Capacity | Who Can Access | What Goes Here |
|---|---|---|---|
| Shared Storage | 48 slots | All characters in a single profile | Crafting materials, common food, arrows |
| Personal Stash | 24 slots per character | One character only | Equipped gear, rare drops, quest items |
The shared box is the workhorse, and the capacity of 48 slots sounds large until you start filling it with Iron Ore, Cloth Scraps, and Mushroom Caps. Most veteran players keep shared storage at roughly 30-35 items, leaving headroom for expedition returns. The personal stash is reserved for things that cannot be replaced easily: boss weapon drops, named armor pieces, and the Lantern once you finally craft it on Floor 4.
What Happens If Storage Fills Up
When both boxes are full, any item picked up on a run that does not fit goes to a temporary Overflow Bag. That bag has no protection: if you die before returning to camp, the overflow is dropped on the floor and any player can pick it up. In solo play this is just lost loot, but in co-op it sometimes turns into a windfall for whoever reaches the body first.
The trick is to bank loot at the end of every floor, not at the end of the run. A good rule of thumb is the Three-Floor Rule: every time you clear three dungeon floors, return to camp and unload. The trip costs about a minute of real time but saves hours of re-farming after an unlucky death on Floor 9.
How to Return to Camp Mid-Run
Of the three return-to-camp options in Deep Dish Dungeon, the cheapest is almost always a free Recall, but its availability depends on whether you unlocked the Campfire Map Pin at the crafting station at camp during a prior run — without that pin, you're forced into either a paid Fast Travel (which spends Gold you could otherwise sink into the camp storage chest) or a full Dungeon Reset that wipes your unsaved loot and breaks any active cooking at camp buffs. Choosing incorrectly here is a classic mid-run resource leak, because Gold spent on a Fast Travel directly reduces what you can invest into the next crafting station at camp recipe tier.
Return Options Compared
| Method | Cost | Time | Best Use Case |
|---|---|---|---|
| Return Beacon at campfire | Free, 3 sec cast | Fast | Standard recovery between floors |
| Emergency Retreat consumable | 1 Smoke Bomb | Fast | Boss wipe recovery |
| Death respawn | All carried items dropped | Slow | Last resort |
The Return Beacon is unlocked the moment the campfire is built, and it lives in the same interaction menu as the rest and save options. Walking up to the fire and selecting Return to Camp teleports you back in about three seconds with everything you were carrying. Cooldowns are short (about 20 seconds in real time), so chaining beacon returns during a retreat is feasible as long as no enemy is hitting you during the cast.
When to Skip the Beacon
The beacon is not always the right call. If you are on Floor 1-3 and you are carrying nothing valuable, walking back to the entrance is faster than the cast animation. If you are mid-combat, attempting the beacon while enemies are aggroed interrupts the cast and leaves you stunned for 2 seconds, which is more than enough time to get killed. Veteran players always create distance first, then beacon, and that habit saves runs on Floor 7 and beyond.
Camp Planning: A Pre-Run Checklist
Camp planning is the practice of staging everything you need at the fire before you leave, so a mid-run return takes seconds rather than minutes. The checklist below is the version most players settle into after a dozen runs, and it covers every reason you might walk back to camp during a normal expedition.
The 30-Second Camp Check
| Step | What to Verify | Why It Matters |
|---|---|---|
| 1 | Fire is lit and stations powered | Avoids "out of range" crafting |
| 2 | Shared storage under 40 items | Prevents overflow bag |
| 3 | At least 2 meals cooked | Layered buffs before next run |
| 4 | Lantern and arrows stocked | Lighting for Floor 4+ |
| 5 | One Smoke Bomb in inventory | Emergency retreat option |
A clean camp lets you run straight back out the door. A messy camp forces you to sort, drop, and reorganize every time you return, and the lost time compounds over a long session. The five steps above should take no more than thirty seconds, and they remove about 90% of the friction players report when they describe camp as "annoying" in community discussions.
Camp Planning by Playstyle
Different players stress different parts of the loop. A solo player chasing boss kills prioritizes meals and a clean stash so every run starts buffed and unworried about overflow. A co-op player who is also managing team resources keeps shared storage much lower, around 20-25 items, because teammates are constantly depositing.
| Playstyle | Storage Target | Meal Target | Return Behavior |
|---|---|---|---|
| Solo boss hunter | 30-35 slots | 3 meals per run | Beacon after every 3 floors |
| Co-op forager | 20-25 slots | 1-2 meals per run | Beacon whenever bag is full |
| Completionist | 45+ slots | Stack every buff | Beacon only when needed |
The planning habit matters more than the specific numbers. Players who treat the campfire as a checklist anchor clear roughly 20% more floors per hour than players who treat it as a save point, based on community-run tracking posts.
Advanced Camp Tips: Repair, Recycling, and Long Runs
Once the basics are automatic, a few advanced tricks separate a competent camp from a high-efficiency one. These are the kinds of habits players pick up after the first 30 hours, and they revolve around squeezing extra value from the fire without spending more time at it.
Repair While You Cook
Every tool and weapon has durability, and repair stations are the most common thing players forget to place. The Whetstone for melee weapons and the Tool Bench for pickaxes and hatchets both sit within the campfire radius in efficient camp designs. Repairing while a meal cooks costs zero extra time, because both timers run in parallel. A typical T3 weapon needs about 40 seconds to repair, which is exactly the time a Tier 3 Oven meal needs to finish, so the two actions sync.
Recycle Unwanted Gear for Materials
Any piece of gear stored in the personal stash can be broken down into crafting materials at the campfire's Recycle Bin, which is a small hidden option in the storage menu. Common weapons yield 2-3 ore scraps, rare weapons yield 5-8, and named boss drops yield 10-15 plus a Boss Token that can be spent at the wall trophy for cosmetic rewards. Recycling is the fastest way to keep the stash tidy without losing progress, because the materials always end up in shared storage.
Long-Run Camp Considerations
On deep runs past Floor 8, returning to camp becomes expensive because the beacon cast distance is much longer. Most players past the mid-game shift to a Camp Cache strategy: they store 20-30 meals in the personal stash before the run, then dive without returning until the boss is dead or the run is over. The cache is restocked on the next visit, and the cycle averages about two camp returns per hour even on the deepest floors.
| Run Length | Beacon Returns | Recommended Cache Size |
|---|---|---|
| Floors 1-5 | 1-2 | None needed |
| Floors 6-8 | 1 | 10 meals |
| Floors 9-12 | 0-1 | 20 meals |
| Floor 13+ | 0 | 30+ meals |
The cache trick also keeps you off the beacon animation when the boss enrage timer is ticking, which is when most deaths happen on late floors. Standing still to channel the beacon leaves you locked in a 1.8-second cast while the boss gains a +15% damage enrage buff every 10 seconds, so even a single interrupted return to camp past Floor 9 can snowball into a wipe during the final burn phase — that's why veteran runners on Floor 13+ commit to the full 30-meal cache and treat the boss room as their only safe window to eat.
Frequently Asked Questions
How do I unlock the campfire in Deep Dish Dungeon?
The campfire is built automatically during the Floor 2 story sequence when you reach the hub room. After a short cutscene, the fire lights and the camp becomes your permanent save anchor. You do not need any materials to place it.
Can I move the campfire after placing it?
No. The campfire is a fixed anchor, and every other station is built around it. If you do not like your initial camp layout, you can demolish stations and rebuild them within the powered radius, but the fire itself never moves.
Why won't my cooking station activate near the fire?
Every station has a powered radius of roughly 6 tiles from the fire. If your station shows a dimmed icon, walk back toward the fire and check that the building is sitting inside the lit zone. Players often build on uneven terrain that pushes the station out of range by a few tiles.
How do I keep loot safe if I die far from camp?
Store anything important in shared storage at the fire before a run. Anything left in your bag at the moment of death drops to the floor for 60 seconds before despawning. The Smoke Bomb emergency retreat is the only way to keep carried items safe without dying.
What is the fastest way to get back to camp during a boss fight?
The Emergency Retreat item is the only mid-combat option that bypasses the standard death penalty. It costs one Smoke Bomb from your inventory and works from any floor, including boss rooms on Floors 5, 8, and 10. Keep at least one in your pack for every boss attempt, since the recipe at the cooking station yields only two Smoke Bombs per batch and the Searing Pepper ingredient is a rare drop from Floor 6+ enemies.