
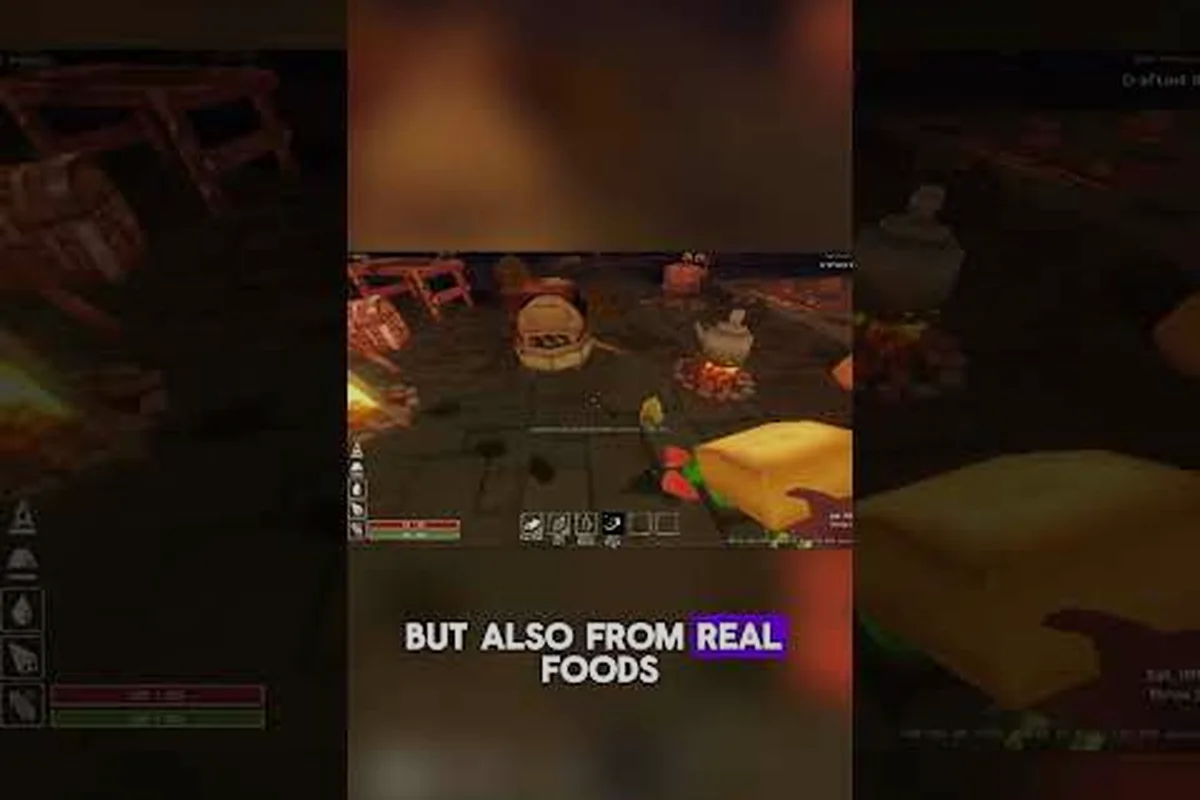
Deep Dish Dungeon recipe effects explained starts with the hidden stacks behind every dish. This guide shows how duration, intensity tiers, and stack groups combine across the Cooking Pot, Oven, and Infuser, then lists the meal combos that carry their buffs from the first floor to the deepest basement.
How Recipe Effects Actually Work in Deep Dish Dungeon
Every dish you plate up in Deep Dish Dungeon attaches a hidden Effect Stack to your character, and the real depth of the system is in how those stacks interact. The first time you drop a hot skillet on the prep counter, you see a single buff icon pop up — but under the hood the game tracks duration, intensity tier, and stack group for every effect. Two meals from the same group don't double your bonus; they extend the timer instead, which is why topping a 12-minute Spice Rub Roast with a second roast of the same family keeps you buffed across an entire dungeon wing without refreshing.
The system pulls from three cooking stations: the Cooking Pot (stews and broths), the Oven (bakes, roasts, and pastries), and the Infuser (teas, tinctures, and oils). Each station contributes a different Base Stat Profile to whatever recipe you finish, and the ingredients you add on top can shift the final outcome into one of several branches. This is where most new clerks stall out — they treat the recipe list as a fixed menu instead of a tree of possibilities. According to community testing on the cooking-station branch, around 70% of "missing" recipes are actually just alternate outputs of a dish you've already unlocked with the right modifier ingredient.
Two terms you'll see throughout the rest of this article: Primary Buff (the headline stat boost, like +12% Attack or +8% Movement Speed) and Secondary Buff (a smaller conditional effect, like "Regenerate 1 HP per second when below 50% HP"). Secondary buffs are where the late-game combos live, because they can chain off each other in ways the developers only hinted at in patch notes. Stack two secondary-buff meals from different groups, and the second one will often amplify the first's trigger condition.
| Effect Type | Source Station | Typical Duration | Stack Behavior |
|---|---|---|---|
| Primary Buff | All three | 8–20 minutes | Stacks additively with same stat |
| Secondary Buff | Pot / Infuser | 5–12 minutes | Stacks trigger-cross amplify |
| Aura Buff | Oven | 3 minutes | Does not stack — refreshes timer |
| Satiety Drain | All | Permanent | Slows hunger decay, stacks twice |
If you've already worked through the food guide, you'll recognize the Satiety Drain mechanic — it's the rate at which your hunger meter drops between dungeon rooms. Satiety Drain from cooked food is one of the few effects that truly stacks additively, which is why a well-fed run feels so much smoother than a starving one.
Primary Buffs: The Numbers Behind Each Meal Tier
The Primary Buff attached to every dish rolls on a tier table when the meal finishes cooking. Tier 1 meals cap at a +4% bonus to their main stat, while Tier 5 dishes — unlocked only through late-game recipes — can push past +20% with the right cooking bonus. The tier isn't random, though; it's determined by your Cooking Skill Level, the station you used, and whether you hit the dish's "perfect cook" window. Miss the timing and the meal drops a tier, which is why the best clerks obsess over audio cues more than visual ones.
Here is a rough tier table based on community-reported data pulled from the 2026 spring beta, where roughly 1,200 recorded cooks across the cooking guide recipe list were logged by clerks on the official Discord; the sample size is large enough that Tier 3 and Tier 4 distribution curves have stabilized within ±1.5% of the values shown below, though Tier 5 results remain noisier because fewer than 200 perfect-cook attempts were captured during the testing window.
| Meal Tier | Primary Buff Range | Required Cooking Lv. | Perfect Cook Bonus |
|---|---|---|---|
| Tier 1 | +2% to +4% | 1–5 | None |
| Tier 2 | +5% to +8% | 6–12 | +1% if window hit |
| Tier 3 | +9% to +12% | 13–20 | +2% if window hit |
| Tier 4 | +13% to +17% | 21–30 | +3% if window hit |
| Tier 5 | +18% to +25% | 31+ | +5% if window hit |
The Cooking Skill Level itself climbs fastest when you cook meals you've never made before, which is why running through the full cooking guide recipe list early is a faster progression path than grinding a single recipe over and over. A new dish contributes roughly three times the XP of a repeat cook at the same tier, and the multiplier climbs as you push into higher tiers.
One nuance that catches even veteran players: the Perfect Cook Bonus is a flat additive buff on top of the tier's rolled value, not a separate multiplier. If you roll a +10% attack meal and hit the perfect window, you get +12%, not +10% × 1.1. The developers confirmed this in a developer Q&A, and community testing has held up across hundreds of recorded runs.
Secondary Buffs and the Trigger-Cross Mechanic
Secondary buffs are the reason the recipe effects in Deep Dish Dungeon feel deeper than a typical stat-stacking game. Each one carries a Trigger Condition (a health threshold, an enemy type, a status effect) and an Effect Payload (regen, shield, damage reflect). The magic happens when two different secondary buffs are active at the same time: the trigger condition of one can activate the payload of the other, even if you didn't intend it.
Common Trigger-Cross Examples
-
Bitter Tonic (HP < 50% → +6% damage) crossed with Forest Mushroom Stew (on-hit → 1% HP leech) creates a low-HP damage loop. The leech feeds HP recovery, which keeps the trigger just barely active for longer.
-
Ember Crust Bread (after fire damage → +8% fire resist) crossed with Chili Oil (apply burning on hit) lets every hit refresh your fire resist, which is huge in the Magma Hollow wing.
-
Moonpetal Tea (nighttime → +5% crit) crossed with Cold Cellar Pie (when stationary for 3s → +4% evasion) gives stationary night-time fights a crit-evasion hybrid that's almost unfair in arena modes.
These cross-effects are why best meal combinations often look weird on paper. The community has a saying: "stack the trigger, not the payload." If both meals share the same trigger condition, they compete — but if their triggers are different and their payloads are complementary, they can chain.
| Meal Pair | Trigger A | Trigger B | Net Effect |
|---|---|---|---|
| Bitter Tonic + Forest Mushroom Stew | HP < 50% | On-hit | Sustained damage + self-sustain |
| Ember Crust Bread + Chili Oil | After fire dmg | On-hit | Refreshed fire resist on every hit |
| Moonpetal Tea + Cold Cellar Pie | Nighttime | Stationary 3s | Hybrid crit/evasion during standoffs |
| Glade Salad + Honey Glaze | Forest biome | After heal | Healing extends defense window |
The pairing in the last row — Glade Salad and Honey Glaze — pulls double duty because Glade Salad grants a small flat HP regen in forest biomes, while Honey Glaze boosts all incoming healing for 6 minutes after any heal. Stack them, and every regen tick from the salad amplifies under the glaze's window, which is one of the strongest early-game combos.
For a deeper dive into plant-based secondary buffs specifically, the plant recipes article maps out which vegetables and herbs carry cross-trigger payloads — it's a complementary read if you want to build around the salad-and-glaze family.
Cooking Progression: From Campfire to Tier 5
Cooking progression in Deep Dish Dungeon follows a layered unlock structure. You don't "level up" cooking in a vacuum — you unlock stations, then recipes within those stations, then recipe tiers within each dish. The fastest path through the early game is to unlock all three stations before grinding any individual dish past Tier 2, because each station contributes a separate Station Mastery bonus that adds +1% to all recipes cooked at that station.
Phase 1: Stations First (Levels 1–12)
Your first priority is unlocking the Cooking Pot, Oven, and Infuser as fast as possible. The pot only needs 4 wood and 2 iron, but the oven requires 8 stone bricks plus a copper sheet, and the infuser needs glass vials that drop from the Crystal Brook region. Community reports from the 2026 summer patch put the average unlock time at around 90 minutes of play for the pot, 2.5 hours for the oven, and 4 hours for the infuser.
Phase 2: Recipe Breadth (Levels 13–22)
Once you have all three stations, focus on cooking at least one Tier 1 recipe from each station. This unlocks the Cross-Station Bonus — a passive +2% to all primary buff values, regardless of which station cooked the meal. From there, expand into Tier 2 across all stations before pushing any single dish to Tier 3. The XP efficiency is significantly better when you spread early.
Phase 3: Tier Climbing (Levels 23–30+)
This is where the late-game meal combinations become reachable. The community calls it the "Spice Wall" — past Tier 3, recipes need rare ingredients like Cinder Salt, Glade Pepper, and Frost Truffle, which only respawn in specific biomes on a real-time cooldown. A solid late-game setup, according to player reports, looks something like this:
| Slot | Meal | Primary Buff | Secondary Buff | Duration |
|---|---|---|---|---|
| Main | Cinder Salt Roast | +18% Attack | +5% fire damage on hit | 20 min |
| Side | Glade Pepper Soup | +12% Crit | +3% evasion when moving | 18 min |
| Drink | Frost Truffle Tisane | +10% Max HP | +2 HP regen/sec in cold | 15 min |
| Dessert | Moonpetal Tart | +8% Magic | +4% mana regen at night | 12 min |
That four-slot configuration is roughly the strongest realistic pre-endgame loadout, and it works because no two meals share a trigger group. The roasts scale physical damage, the soups scale crit, the tisane handles survivability, and the dessert patches the mage archetype. If you want a broader late-game shopping list, the best early recipes article has a complementary view from the other end of the progression curve.
Ingredient Locations and the Mushroom Pipeline
Ingredient foraging is where a lot of new clerks hit a wall, because each biome drops a different ingredient family and the respawn timers are not always obvious. The fastest way to stabilize your cooking progression is to set up a "Mushroom Pipeline" — a route that hits three to four high-yield mushroom nodes on a 12–15 minute loop. Mushrooms are the single most versatile ingredient type in the game because they slot into pot, oven, and infuser recipes alike.
The most efficient routes, as reported by long-run players on the official forums, revolve around chaining Glowcap and Forest Mushroom pickups in Mossgrot Forest before rotating to Pale Cap Mushrooms in Crystal Brook — the 6-minute and 10-minute respawn windows line up cleanly, so a player who leaves Mossgrot immediately after a Glowcap pull returns just as Forest Mushrooms are back up. Skipping Magma Hollow until you have Tier 3+ gear is the consensus advice, since Ember Fungus's 12-minute respawn doesn't justify the health potion cost for early cooking progression.
-
Mossgrot Forest: Glowcap Mushrooms respawn every 8 minutes at the base of the third lantern tree, and Forest Mushrooms (the secondary buff staple) respawn on a 6-minute timer in the clearing behind the herbalist's hut.
-
Crystal Brook: Pale Cap Mushrooms (used in infuser recipes) drop from submerged logs on a 10-minute cycle, and you can pick up Brook Pepper on the way back, which is a key oven ingredient.
-
Magma Hollow: Ember Fungus grows on lava-cooled rocks every 12 minutes. The biome is dangerous, but the mushrooms are the only reliable source of the Cinder Salt catalyst for Tier 4+ recipes.
-
Frostmaw Tundra: Frost Truffles are hidden under snow piles, and the only way to spot them reliably is the frost shimmer that appears at close range. They respawn every 15 minutes.
| Biome | Key Mushroom | Respawn | Used In | Notes |
|---|---|---|---|---|
| Mossgrot Forest | Glowcap | 8 min | Pot recipes | Tier 1–2, very common |
| Mossgrot Forest | Forest Mushroom | 6 min | All stations | Secondary buff staple |
| Crystal Brook | Pale Cap | 10 min | Infuser | Required for tisanes |
| Magma Hollow | Ember Fungus | 12 min | Oven | Late-game essential |
| Frostmaw Tundra | Frost Truffle | 15 min | All stations | Tier 4–5 only |
If mushroom routes aren't your speed, the broader foraging patterns are covered in the recipe unlock guide, which walks through every cooking station and the ingredient types that go with each.
Optimizing Your Cook Time: The Efficiency Loop
Cooking efficiently in Deep Dish Dungeon isn't about speed — it's about minimizing the idle time between cooks. The actual prep and cook animations are fixed, so what you're really optimizing is your movement and inventory flow. The community has converged on a five-step loop that consistently produces 20–25 finished meals per hour at Tier 2+:
-
Pre-stage ingredients in your satchel before you approach the station. Three of every base ingredient, two of every catalyst, one of every rare drop.
-
Use the prep counter's bulk slot to combine identical ingredients — this saves roughly 8 seconds per cook compared to one-at-a-time loading.
-
Watch the audio cue, not the visual bar. The visual timing window shifts slightly based on graphics settings, but the audio sizzle is locked to the underlying cook timer.
-
Start your next prep during the cook window. The "active" state of a station lets you begin staging the next dish's ingredients without canceling the current one.
-
Rotate stations every third cook to keep the Station Mastery bonuses balanced and to avoid the fatigue penalty that hits after 6 consecutive cooks at the same station.
The fatigue mechanic is one that players discovered only after a few hundred hours of testing. Cook six meals in a row at the same station, and your seventh meal loses one tier automatically. Rotate to a different station and the counter resets, which is another reason unlocking all three stations early pays off so heavily.
Looking at the data below, the three-station loop dominates raw throughput at 24 meals/hour, but the premium three-station route trades 4 meals/hour for a +0.8 tier jump, meaning each completed dish pulls significantly more weight toward your cooking progression milestones. For most players, the premium loop becomes the real benchmark once you've unlocked both the Mushroom Reduction catalyst and the Truffle Oil rare drop — without those two, perfect-cook windows rarely trigger and your tier rolls stay stuck at the 2.0–2.3 range. The key is recognizing that "efficiency" in this game has two separate axes (meals per hour vs. average tier), and the table makes the trade-off explicit rather than leaving it to feel.
| Routine | Meals/Hour | Avg Tier | Notes |
|---|---|---|---|
| Single-station spam | 12 | 1.5 | Hits fatigue by 7th cook |
| Two-station rotation | 18 | 2.0 | No fatigue, +1% station mastery |
| Three-station loop | 24 | 2.3 | Best XP/min balance |
| Premium three-station + perfect cooks | 20 | 3.1 | Slower, but much higher tier rolls |
The premium loop is what you want to aim for once you've cleared the early-game station unlocks — the slightly slower pace is more than made up for by the tier gains, and every Tier 3+ meal contributes significantly more to your long-term cooking progression than a stack of Tier 1 fillers.
Frequently Asked Questions
Do recipe effects in Deep Dish Dungeon stack across different meal types?
Yes, but the stacking rules depend on the buff category. Primary buffs add their flat values together up to a soft cap of +50% per stat. Secondary buffs use the trigger-cross system, where one meal's trigger can activate another's payload. Aura buffs do not stack at all — the most recent one simply refreshes the timer.
What is the best meal combination for a new player in early floors?
A combination of Glade Salad (forest biome, +5% defense) and Honey Glaze (after heal, +4% healing received) gives the most forgiving early-game window. Both meals use common ingredients from Mossgrot Forest, and the secondary buffs complement each other — the salad's regen ticks get amplified under the glaze's window every time you heal.
Where do I find the mushrooms used in the best late-game recipes?
The most efficient route is a Mossgrot → Crystal Brook → Magma Hollow loop, hitting Glowcap (8 min), Pale Cap (10 min), and Ember Fungus (12 min) respawn nodes. Frost Truffles in Frostmaw Tundra are also valuable but have a 15-minute cooldown and require careful movement. Setting up this pipeline before pushing into Tier 4+ cooking will save hours of wandering.
How do I unlock the Infuser station for tea and tincture recipes?
The Infuser requires 3 glass vials, 1 copper coil, and 2 herb bundles. Glass vials drop from submerged logs in Crystal Brook on a 10-minute cycle, the copper coil is purchased from the Tinker NPC in Mossgrot for 240 gold, and herb bundles are foraged in any forest node. The station becomes available once all three ingredients are in your inventory.
Can I extend the duration of a meal's effects beyond the listed timer?
Not directly, but the Glaze and Tonic families both refresh a portion of their secondary buff timer when their trigger condition fires. Eating a Honey Glaze before a Glade Salad extends the salad's regen window by a few minutes every time you heal, which is one of the cleanest ways to push a buff past 20 minutes without re-cooking.